
Bathroom Silicone Sealant: Quick repairs for bathroom leaks and cracks
Bathroom silicone sealant is the handiest tool for basic bathroom renovation. The liquid gel is easy to apply and gives good resistance to moisture, heat, and undersurface mould. It can retain its stability in low and high-temperature showers and result in a long-lasting grip after a single use.
This makes it a fit for various home furnishings: kitchen, doors, windows, and more. Let's learn about the benefits of silicone sealant, its uses, and the correct way to apply them in bathrooms.
Benefits of silicone sealants
Silicone sealants are durable and more stable than grout or rubber sealants. They can withstand much higher seismic and temperature fluctuations and are much harder to force apart.
Besides moisture, waterproof silicone sealant avoids mould formation and contracts fungal expansion around wet surfaces. Silicone sealants blend easily with bathroom aesthetics, thus saving paint job expenses once the repairs are done.
Using bathroom silicone sealant for furnishing
Mixed with other elements, silicone sealants contain silicone in excess proportions. It has high moisture and heat resistivity, giving strong bonds and seals for compact spaces like corners, basins, etc. Silicone sealants are also flexible and can be applied anywhere in the bathroom.
This multi-purpose ability makes it a good choice for high-pressure areas like tubs, showers, walls and flooring. Silicone sealants also exhibit low chemical reactivity and leave no odour. With a quick cooling time, silicone sealants can increase a home's energy efficiency by repairing fixtures, holes, or cracks.
Buying the material
It is a must to buy sealants with correct details. There are great products out there, and it's on you to pick the one appropriate for you. One thing to remember before buying silicone sealant is to acquire it specifically for bathrooms and kitchens. No two sealants and adhesives are similar.
Another thing to keep in mind is to focus on the purpose. For example, shower leaks can be fixed using shower silicone sealant, whereas, buying complete waterproof silicone sealant makes sense when the complete flooring is reorganized.
You may also require a caulk gun for applying the silicone. Unlike grout, silicone sealants settle rapidly and can leave holes for water drainage. A caulk gun evenly spreads the sealant without leaving any gaps, giving a smoother, aesthetic finish.
Applying silicone sealant in bathroom
Preparation and precautions
To apply bathroom silicone sealant, it is crucial to take a few steps first. Before opening the mixture, read all the instructions given on the side of the silicone sealant and its attachments. Wear protective gear like gloves and eyeglasses to avoid sealant getting in contact with the skin.
Surface cleansing
Prepare the area by removing any old/or broken silicone from the area with a utility knife. A normal silicone can last up to 20 years. Make sure you clean out all the surfaces and rinse all the dirt, grease, or residue. Turpentine can also be used for a thorough cleaning.
Taping the joints
Let the area dry out because the caulk won't seal to the surface if it's moist. Apply masking tape above and below the joint for a clear bathroom sealant result. Ideally, a width of 3 mm between the centre of the joint and the tape is good, preventing sealant from sliding away.
Test the nozzle flow
Meanwhile, as the surface dries up, cut the nozzle of the caulk gun with a straight-line finish. To ensure this, cut the nozzle at a 45-degree angle. This lets the sealant come out at regular flow or bead size. Now, it's time to apply the fluid. But it's good to test it somewhere.
Applying without stopping
Squeeze the caulk gun to let some silicone sealants out of the tube. Check the flow of it somewhere else. If not desired, cut more off of the nozzle. Once done, apply the sealant to the aperture with constant pressure. Remember, no stopping until the end.
Adjusting the caulk
At the end of the crevice, quickly remove the caulk gun to avoid a stringing residue. Now, gently press the applied caulk with your finger dipped in water. Remove any extra sealant or adjust it in between the cracks. Proceed to take off the masking tape and let the surface dry.
Remove any extra sealant instantly. A normal bathroom silicone sealant dries up to the touch in approx. 45 minutes. For total cure, the surface must be left up from 24 to 30 hours.
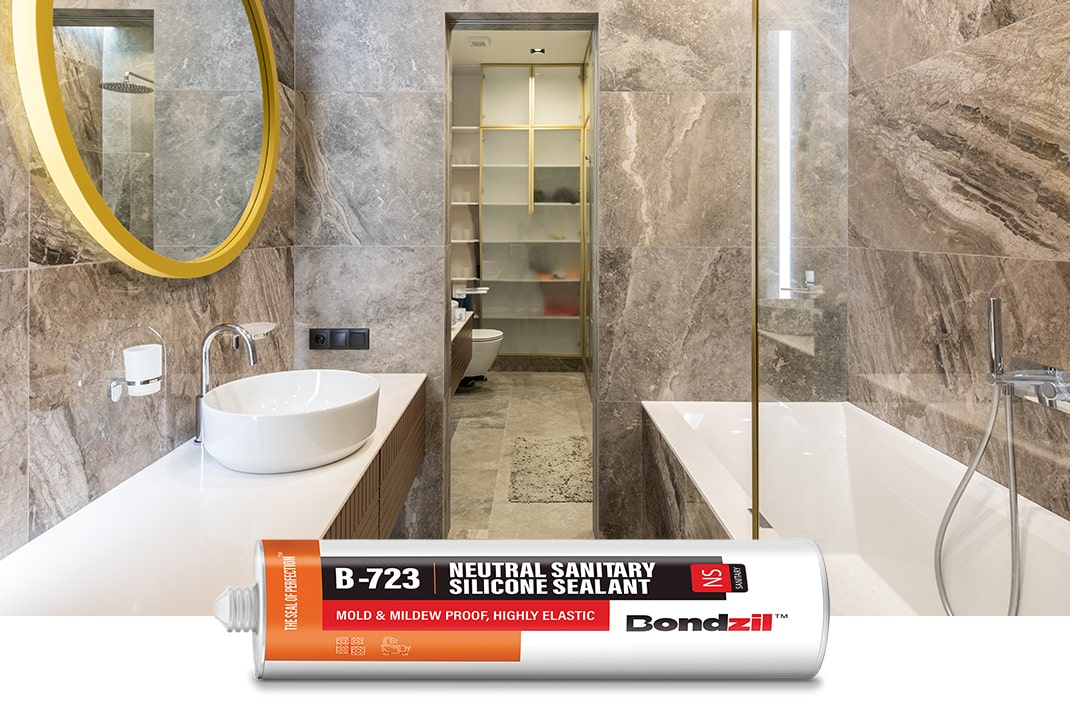
Looking for the best bathroom silicone sealant solutions?
Silicone sealants produce the best results for all types of seals and bonds. At Bondzil, we help you with all your concerns regarding fixings and sealings. From a wide variety of products available, you get only the best. To name a few, we have general-purpose silicone sealants, shower silicone sealants, white bathroom silicone sealants, etc.
We provide a cost-effective, authentic, and durable product range for you. If you have any queries, you can email us at info@bondzil.com or ring us at 1800 212 6274 (India) or +91 8100041000 (International). Happy Fixing!